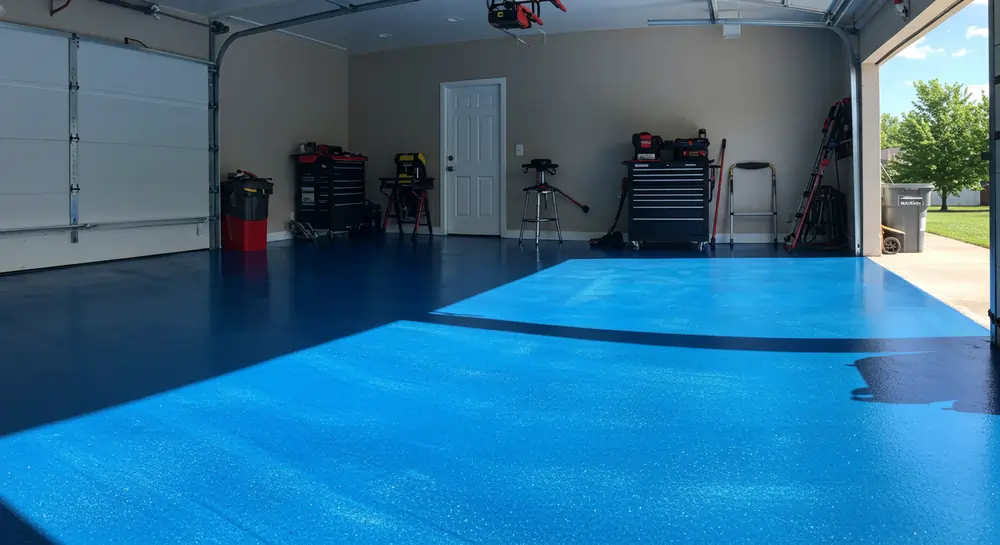
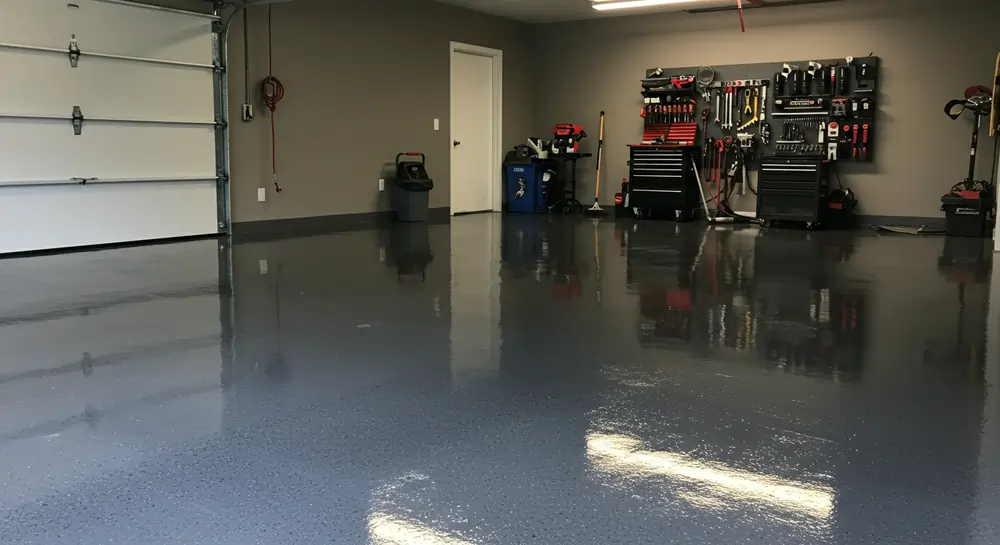
If you’ve ever stared at your garage floor and thought, “This could use a glow-up,” you’re not alone. Garage floors endure everything from oil spills to heavy tools, and plain concrete just doesn’t cut it anymore. Enter polyurea garage floor coating—the superhero of concrete coatings that’s taking 2023 (and beyond) by storm. But is it worth the hype? Let’s dive in.
Why Polyurea? The Benefits You Can’t Ignore
Imagine a floor coating that laughs in the face of hot tires, shrugs off chemical spills, and cures faster than you can binge a season of your favorite show. That’s polyurea. Unlike traditional epoxy floor coatings, which can yellow under UV light and take days to cure, polyurea offers superior protection with a fast cure time—often ready for foot traffic in just 24 hours.
Key Advantages:
- Durability: Resists scratches, impacts, and even wear and tear from heavy machinery.
- UV Stability: No more yellowing! Perfect for garages with windows or outdoor use.
- Flexibility: Moves with your concrete, preventing cracks caused by temperature shifts.
- Low Maintenance: A quick sweep or mop keeps it looking pristine.
But wait—there’s a twist. Polyaspartic floor coatings, a subtype of polyurea, offer even longer pot life during application, making them easier for installers to work with. Think of them as polyurea’s more patient cousin.
Polyurea vs. Epoxy: The Showdown

Let’s settle the debate. While epoxy coating has been the go-to for decades, polyurea is stealing the spotlight. Here’s why:
| Feature | Polyurea | Epoxy |
|---|---|---|
| Cure Time | 24 hours | 3–7 days |
| UV Resistance | Excellent | Poor (yellows over time) |
| Durability | Flexible, crack-resistant | Rigid, prone to chipping |
| Cost | 5–12 per square foot | 3–7 per square foot |
| Installation | Professional recommended | DIY-friendly kits available |
Source: Garage Floor Coating Comparisons.
Epoxy’s lower garage floor coating cost might tempt you, but polyurea’s longevity (15–20 years vs. epoxy’s 5–10) makes it a smarter investment. Plus, epoxy’s strong chemical odor and sensitivity to moisture (moisture barrier required!) add hidden hassles.
Breaking Down the Costs
Let’s talk numbers. A polyurea concrete coating typically ranges from 5to10 per square foot, including materials and labor. For a standard 2-car garage (400–600 sq ft), expect to pay 2,000–5,800. Factors that spike the price:
- Floor Condition: Cracks or flaws in the concrete? Repairs add 50–300.
- Customizations: Fancy a metallic tint or anti-skid finish? Tack on 15–40%.
- Coating Thickness: Thicker layers (mil thickness) mean higher durability—and costs.
Pro tip: Some polyurea garage floor coating kits (like Rust-Oleum’s RockSolid) offer DIY savings, but pros ensure even roller marks and proper moisture content testing.
Material Costs: The Foundation
Polyurea isn’t a one-size-fits-all product. Prices hinge on:
- Coating Type: Basic single-component kits (like Rustoleum’s RockSolid) start at 1.50–3 per square foot, while professional-grade two-coat systems with an epoxy primer and top coat run 5–8 per sq ft.
- Mil Thickness: Thicker layers = better durability. A 10–15 mil system costs ~20% more than a basic 3–5 mil coat but lasts twice as long.
- Add-Ons: Want a white floor with metallic tint? Decorative flakes or anti-skid additives add 0.50–2 per sq ft.
Pro Tip: Most polyurea garage floor coating kits cover 200–300 sq ft per gallon. For a standard 2-car garage (500–600 sq ft), you’ll need 2–3 gallons for two coats.
Labor Costs: DIY vs. Hiring a Pro
| Factor | DIY | Professional Installer |
|---|---|---|
| Cost per Sq Ft | 2–5 | 5–12 |
| Time | 2–3 days (including cure time) | 1–2 days (fast cure advantage) |
| Skill Required | Moderate (watch for roller marks!) | None (they handle grinding, moisture content tests) |
| Coverage | ~250 sq ft per kit (1 gallon) | Full broadcast systems for seamless finishes |
| Hidden Costs | Renting tools (50–100/day) | Includes repairs for flaws in the concrete |
Source: HomeAdvisor’s 2023 Garage Floor Coating Estimates
Why Pros Cost More:
- Prep Work: Pros use diamond grinders to open pores in the concrete properly, ensuring adhesion.
- Moisture Barriers: If your slab has high moisture content, they’ll apply a moisture barrier (~$1.50 per sq ft).
- Warranty: Many garage flooring LLCs offer 10–15 year warranties—peace of mind DIY kits rarely provide.
Hidden Costs You Can’t Afford to Ignore
- Concrete Repairs: Cracks or spalling? Patching flaws in the concrete adds 2–5 per sq ft.
- Shipping Restrictions: Some polyurea kit brands (like Legacy Industrial) are unable to ship to areas under South Coast Air Quality Management District rules due to VOC limits. Local pickup or hiring an installer may be your only option.
- Safety Gear: Proper ventilation and a proper respirator are required during application. DIYers spend ~$100 on masks, goggles, and fans.
- Customization: A color coat with tint or clear coat gloss adds 15–25% to material costs.
Regional Price Variations
Where you live plays a role:
- High COL Areas (e.g., California): Pros charge 8–15 per sq ft due to labor and permitting fees.
- Rural Regions: DIY dominates here, with kits like Rustoleum’s Polycuramine (~$150 for 200 sq ft) saving costs.
Fun Fact: Polyaspartic floor coatings, a pricier cousin of polyurea, hit 6–14 per sq ft but offer unlimited pot life—a win for meticulous DIYers.
Is It Worth the Investment?
Let’s crunch numbers for a 250 sq ft garage:
- DIY: 750–2,000 (kits, tools, repairs).
- Pro: 2,000–4,500 (labor, two coats, warranties).
While DIY saves upfront, pros deliver superior protection and fix issues like roller marks or uneven recoat times. For garages doubling as workshops, the durability payoff is huge.
People Also Read https://ahouseinthevalley.com/green-sectional-couch/
Installation: What to Expect
Step 1: Prep Like a Pro
- Grind the concrete to remove old coatings and ensure adhesion.
- Patch flaws in the concrete and apply an epoxy primer if needed.
Step 2: Apply the Coating
- Mix Part A and Part B (for two coats systems).
- Use a roller frame or sprayer for even coverage.
- Add decorative flakes or a clear coat for shine.
Step 3: Let It Cure
- Fast cure means you’ll park your car back in 24–72 hours. Just avoid heavy loads for a week.
Warning: Proper ventilation and a proper respirator are required—those fumes are no joke!
DIY vs. Pro: Which Should You Choose?

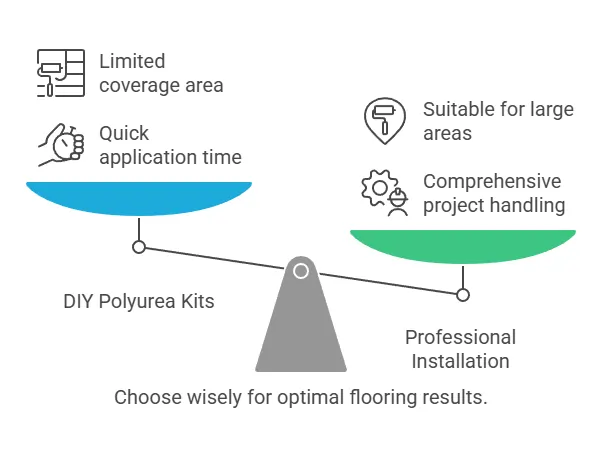
Polyurea kits (like Rustoleum’s Polycuramine) promise one-day miracles, but beware:
- Unlimited pot life? Nope. You’ve got ~45 minutes before it hardens.
- 200 sq ft coverage per gallon? Measure twice, buy once.
For larger projects (300 sq ft+), hire a garage flooring LLC. They’ll handle moisture barriers, full broadcast systems, and avoid recoat times mishaps.
The Verdict
Is polyurea garage floor coating worth it? If you want a flooring system that combines natural beauty, durability, and minimal upkeep—absolutely. While the upfront garage floor coating cost is higher, its superior protection pays off in the long run.
Ready to transform your garage? Whether you DIY with a polyurea kit or hire a pro, your concrete will thank you.

